Surfaces reveal so much. The marks painters make reveal so much about their work and themselves; their sense of proportion, line, and rhythm is more telling than their signature. Looking at the surfaces of nature may offer equivalent revelations. What do these shapes and patterns reveal about the world and their creator? Surfaces hide so much...
-John Paul Caponigro
Textures can create a powerful effect and interest in a painting, by subtly altering the surface. In the play of light and shadows, there can be created an almost meditative, calming effect. Texture can lead the eye of the observer where the artist wants it to go. The subtle difference in the edges where different textures meet and the lines and patterns they create, makes the whole composition visually appealing.
I am quite certain that there are numerous ways of achieving textures in acrylic medium. Here are some I have tried and used and found the results pleasant to the eye. Of course, I am not debating the importance of the overall composition of the painting, but we are going to see how we can make the work more visually appealing.
So here is a little how-to post on creating texture in your painting.
I have started with a canvas, which , as you can see has already been worked upon. It was originally mine - fresh and pristine. But my kiddo had other plans for it. He experimented with some idea he had in mind and then gave it to me to "improve" it. So I have inherited a canvas with possibilities. I recommend you start with one without. In any case, we might just be able to cover the paint completely or use it as a background for further work.
Materials:
Canvas,
Brushes
Paints - I use all kinds of paints from little craft paint bottles to artist quality acrylic paints. It just depends on what textures I am going for. Here I have used Artist's Loft paints along with Folkart brand paints from Michaels.
So let's get started. What I have planned to do is divide this canvas in to sections and I am going to attempt to show you various textures using a few different techniques.
 |
| Canvas with Possibilities |
Step 1.
For this project I am using four different paints to create a layer of paint.
 |
| Dollops of paints |
Step 2.
Using a round headed brush, gently mix the paints in a circular pattern. The goal here is not to flatten the paint on the canvas, but to mix the paints gently and create a swirl of paint, sitting thickly on top of the canvas.
 |
Gently mix the paint in circular motion
|
Step 3.
Here is the result of our above handiwork. Acrylic paints tend to dry flat. So you need a good quantity of paint. It takes a little while to dry but it does so quite beautifully. We have one more layer of paint to go on top of this one. We will wait for 10 to 15 minutes before we apply that. It helps with creating thicker texture.
 |
| Let paints 1,2,3 get tacky |
Step 4.
After 10 minutes or so, when the layers of paint have become tacky, I come in with the good dollop of fourth paint.
 |
Paint number 4
|
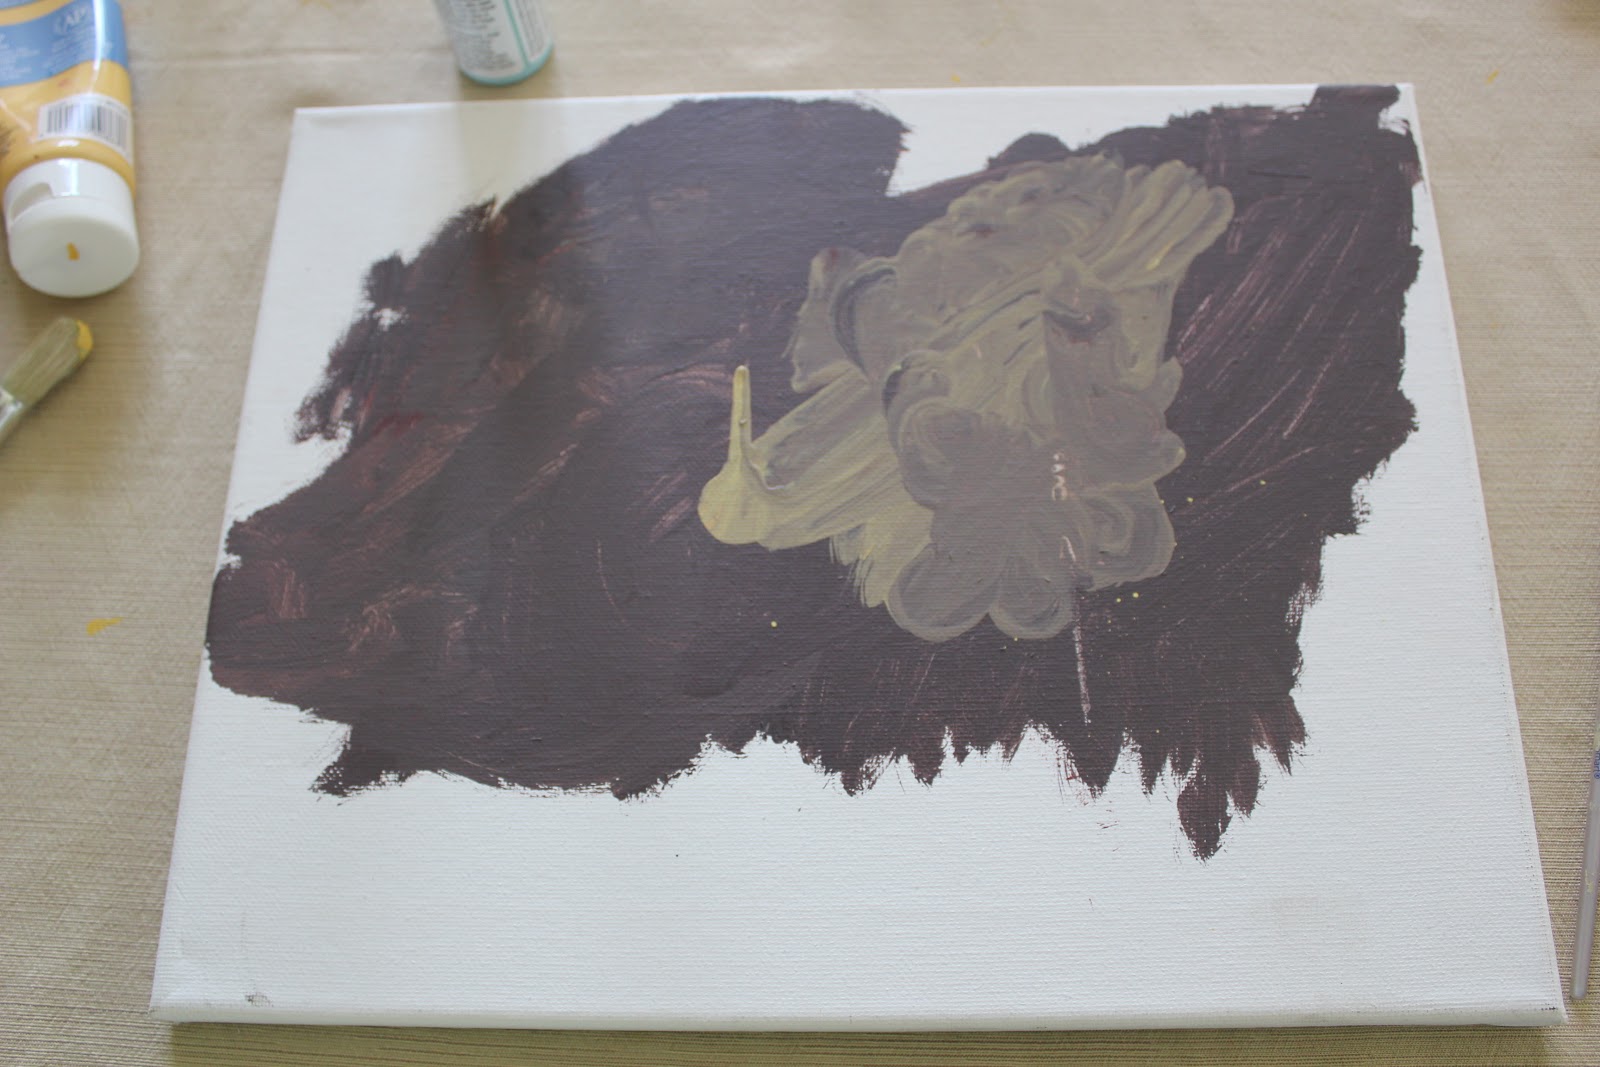
Step 5.
Apply paint number 4 gently atop the layers of paint already there. Again, do it slowly, with an almost feather touch. The result is quite attractive, if I may say so myself.
 |
Voila! A swirling symphony of
colors and textures |
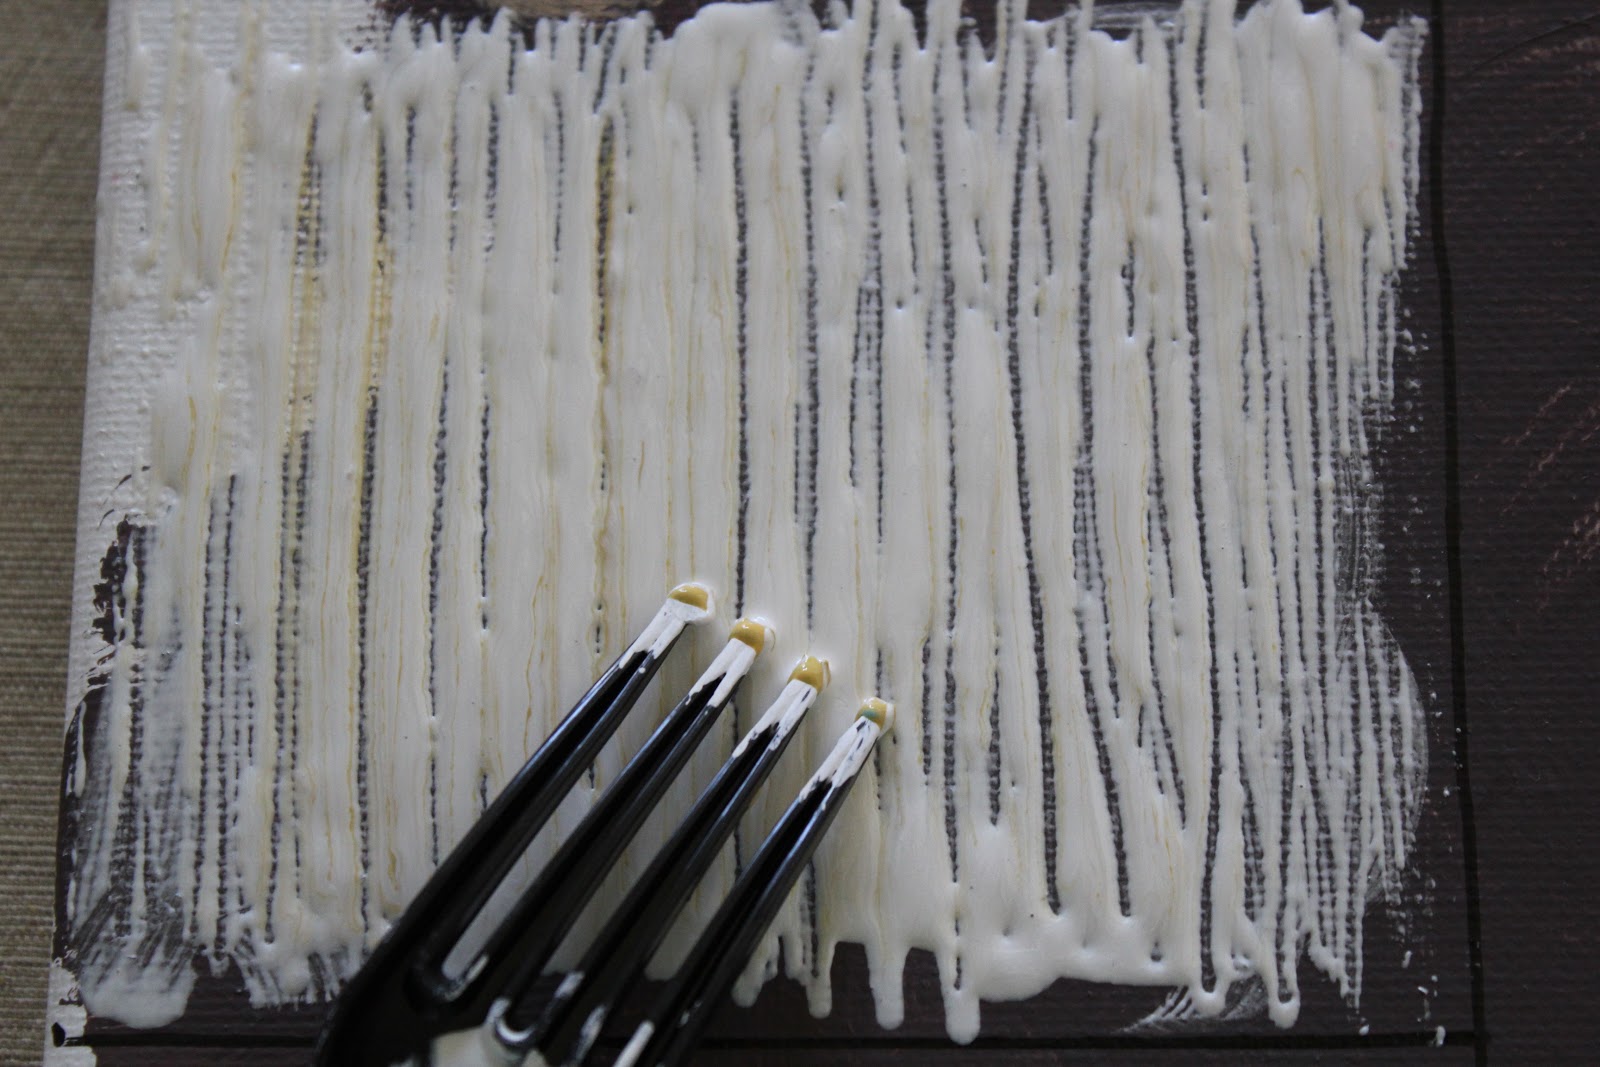
This is but one of many ways of creating textures. In the next one, we will look at combing to achieve a linen like texture on our canvas. Come back!


